PUSHPANEL.io user registration is simple.
PushPanel.io user registration — Initial Registration
1. Click the Login button at the top of the screen.

2. Select Create an Account at the bottom of the login screen.

3. In the fields provided, enter:
- A valid email address
- Your firstname
- Your lastname
- A strong alphanumeric password with special characters

4. Check the box next to I’m not a robot in the reCAPTCHA box.
- If you don’t check the box you will need to re-enter all information again
- When you do click the reCAPTCHA you may also need to complete a second level of authentication via image recognition
5. Double-check all fields before you click Create Account.
6. You’ll receive a welcome email once account confirmation is complete.
PushPanel.io User Registration — Business Information
Next, input your business data.
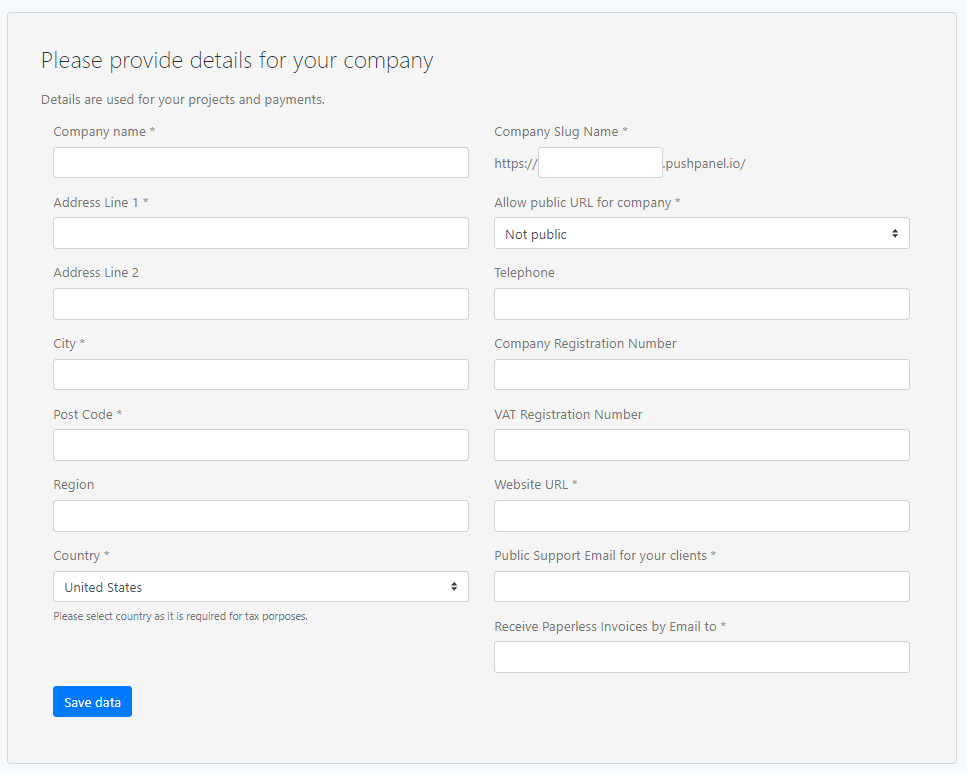
1. Enter the following information in the mandatory fields:
- Company Name
- Address Line 1
- City
- Post Code — Zip Code for the U.S.
- Country
- Company Slug Name — Maximum of 10 alphanumeric characters (a-z and 0-9)
- Allow Public URL for company — Select Public or Not Public from the drop-down menu
- Website URL
- Public Support Email for your clients
- Receive Paperless Invoice by Email to
2. Double-check the entries and click Save Data.
From here, you move into the New Project page.